How to use your bath-bomb making kit - tutorial #3 - Making your bath-bombs!
Posted on

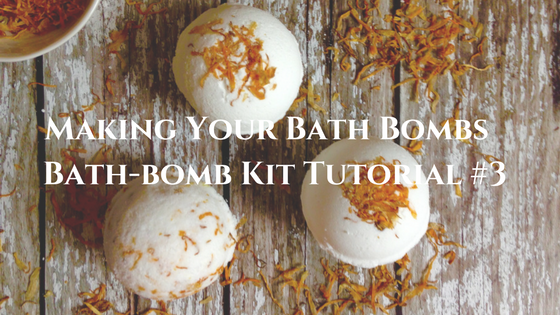
Your pre-blended bathbomb base is the right consistency and you have your flower petals so now it's time to use the bath bomb mould and make your bath bombs!
Here is bathbomb making kit tutorial #3
You don't need to use a purpose made bath-bomb mould. In the image below Gracie is using some chocolate moulds from Lakeland (keep me away from that shop...so many lovely things!). She simply pressed her bath-bomb mix into the moulds firmly and let them dry. Then out they pop, easy peasy.
Sometimes she is witch hazel spray happy. This means the mix is really too wet (and is sometimes fizzing a little still) when she pushes it in the mould. If this happens don't worry at all. The bath-bomb will swell and dry 'bubbled up' a little (as you can see in the above image). They will still smell amazing and be completely useable.
For me, it's more important that she is so proud of herself for making them and enjoys this activity than me telling her she's done it wrong.
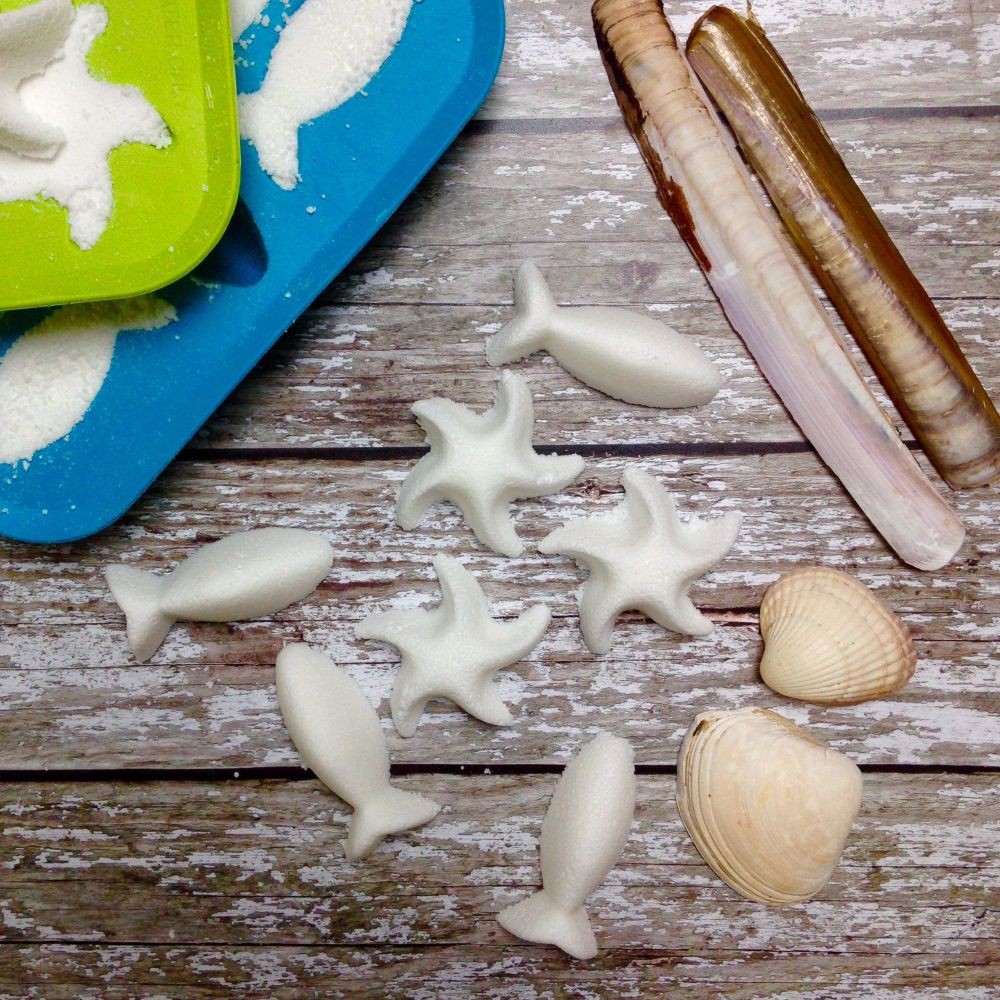
The image below are mini bathbombs that Gracie (7.5years old) made with the pre-blended Lavender base. Once at the right consistency she pressed the base firmly into Ikea ice-cube moulds. They came out prefectly and she needed no help.

So...you've made your bathbombs and you'll want some ideas for wrapping them.
How To Wrap You Bath-bombs - Bath-bomb Making Kit Tutorial #4

Add a comment: